High-Fidelity & Low-Fidelity Prototyping: What, When and How?
Originally coming from the rock music, the terms of “high fidelity and low fidelity” were used to describe the sound and playing skills of the rock and roll at the end of the 1980s. Likewise, there are three levels of fidelity in design including low, mid and high fidelity to refer to the level of details and functionality built into a prototype.
The debate about using low versus high fidelity prototyping is on-going and it’s worth thinking how much a prototype should resemble the final version of your product. In the following, I will walk you through the basics and difference lying in the high fidelity and low fidelity, explaining why and how to make lo-fi prototyping for better design.
1. What is the difference between high fidelity and low fidelity prototyping?
Generally, there is no fixed recipe for successful prototyping, but there is a distinction made between the high fidelity and low fidelity prototypes. One of the major differences between them is the refinement of a prototype and the design scenario.
Low-fidelity prototyping – known as low-tech, is a simple and easy translation of the product and design concepts. It’s used to turn the design ideas into testable and tangible artifacts, collecting and analyzing the user demands at the early stage.
High-fidelity prototyping – is highly-functional and interactive prototyping which is quite close to the final product, with lots of functionality and details included. This is often used in the later usability evaluation to discover the potential issues that may exist in the workflow, interactivity and so on.
2. Why is low-fidelity prototyping better for your choice?
Obviously, the low fidelity prototyping can help discover the issues of design and get them resolved at the early stage, with much less time and efforts invested in it. An interesting and proven phenomenon is the low-fi prototyping has become a preferred choice for both new-born start-ups and giant brands. The benefits of using lo-fi prototyping include:
• Focusing more on high-level concept than just implementation. Instead of emphasizing on the outlook of the product, the lo-fi prototyping gives more focus on the product functionality.
• Instant iteration. A typical example is you are more poised to give up the rough sketches which only take few minutes to create. But to give up the pixel-perfect prototypes is much more painful definitely.
• Easy to carry and do the presentation.
3. How to make low-fidelity prototypes?
To choose the low-fidelity for your design is just half of the work indeed. How to turn your fantastic ideas into reality and deliver valuable feedback to your stakeholders will be another big concern. From my personal benchmark, a good tool can twice the work, and the tool named Mockplus is highly recommended for low-to-medium prototyping. Here are the highlights that make it the best solution for saving your headaches, let’s see in below:
A. Faster and smarter interactive design
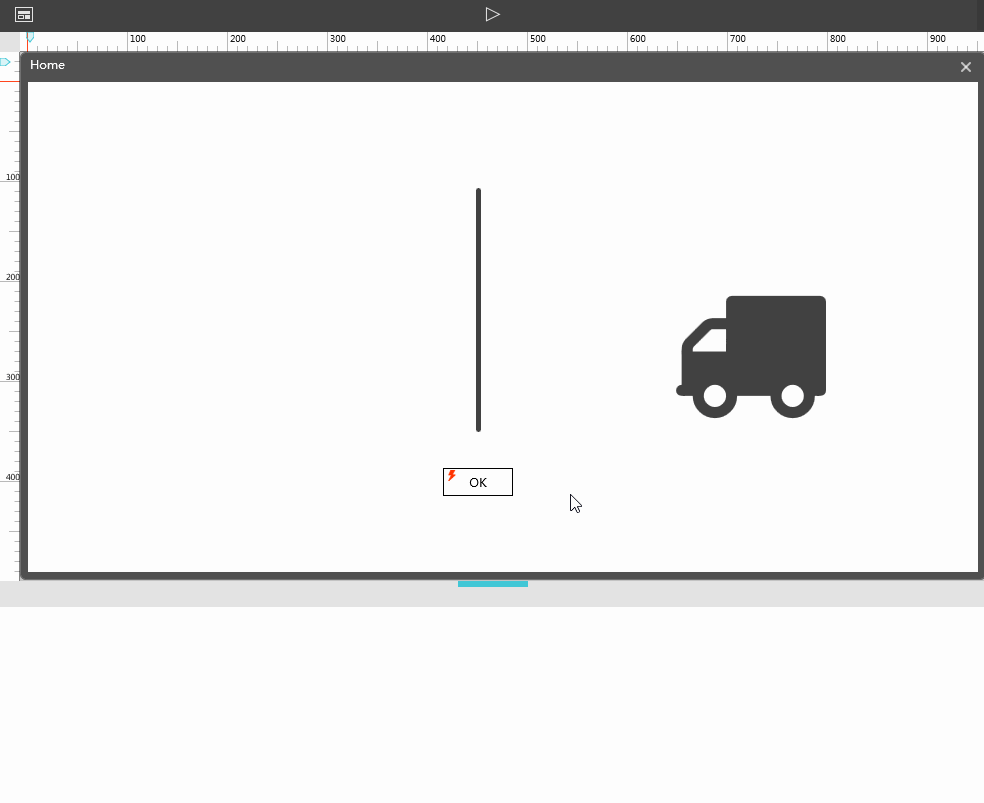
The setting of interactions out there is intuitive and easy-to-follow, including: Page Link, Components Interaction as well as Interaction State. With simple drag-and-drop, you will be able to make the interactions between the components and pages. The animation effects in the PowerPoint presentation are also available here, such as push, slide, fade out and etc.
Unlike Axure or Framer which requires parameters or coding knowledge to make the interactions, Mockplus lets any level of users easily build interactions between the components by dragging its Link Point. That’s WYSIWYG. The auto-recovery feature allows restoring the original interaction once the first interaction occurs, totally a life-saver for most designers.
B. Better presentation with UI Flow
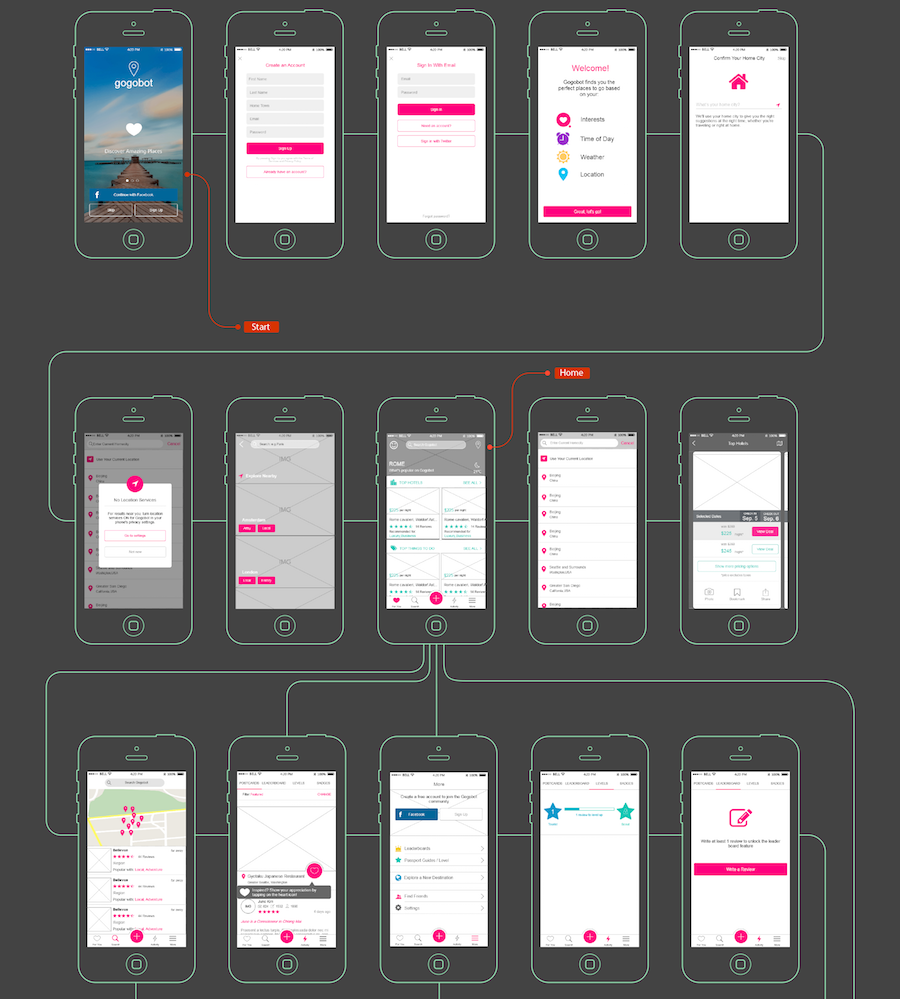
For the completed design, you are allowed to export the design to project tree, with multiple file formats supported like html, xml, csv, etc. The coming v3.2 will add the Mind Map design mode where all the page structure of the project can be easily and quickly completed with just one click to convert it into a prototyping project. The UI Flow feature is also coming on the way, allowing designers to display the UI flow of all or any number of pages, with page connections and markups included.
C. Comprehensive ways to share & test out prototypes
There are up to 6 ways to share and test out the prototypes, comprehensive and unique, on the mobile, browser and desktop platforms. In specific,
• Publish online as an H5 web App, generating a public URL to share with your colleagues and stakeholders.
• Export to HTML5 offline, testing in the browser and deploying the HTML5 package to server.
• Export to demo package, both .exe and .app files supported, without browser compatibility issues.
• View prototypes on mobile by scanning QR code, using the App client or any QR code scanner.
• Input View Code in the mobile client App, generating the four-letter view code.
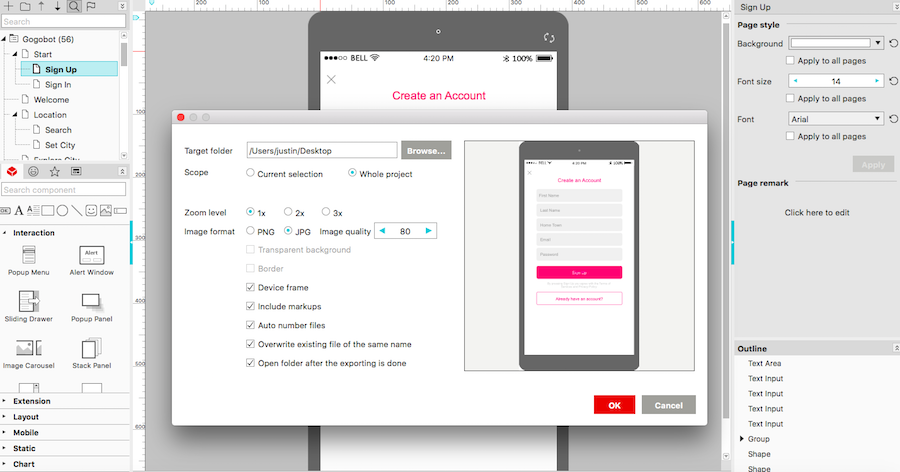
• Export to images, both .jpg and .png files supported.
D. User-friendly design
In consideration of the repetitive part in the design, Mockplus supports format painter and paste style to streamline your content creation efforts with just one click away. Above all, the brand-new feature of Repeater will free you from making the same miscellaneous adjustments, just drag and move to make convert any components into a repeater. The in-built 200 components and 3000 icons will power your way to more creativity.
Hi-fidelity and low-fidelity prototyping – which one to choose?
The answer is the low-fidelity prototyping definitely. As a matter of fact, It’s recommended for most of the product design to be in line with the product thinking in your design. Also, Mockplus is a go-to option to do low-fidelity prototyping with a good balance of functionality and affordability. Design better and together with its team collaboration.


Comments
Post a Comment