10 Best Sketch Plugins for UX/UI Designers in 2018
In the previous article, we have introduced the basic tutorials and resources of Sketch. Besides the basic feature of vector design, plugins are unique Cheats that make Sketch powerful. I summarized the 10 best Sketch plugins for you. Now have fun with Sketch!
1. Marketch
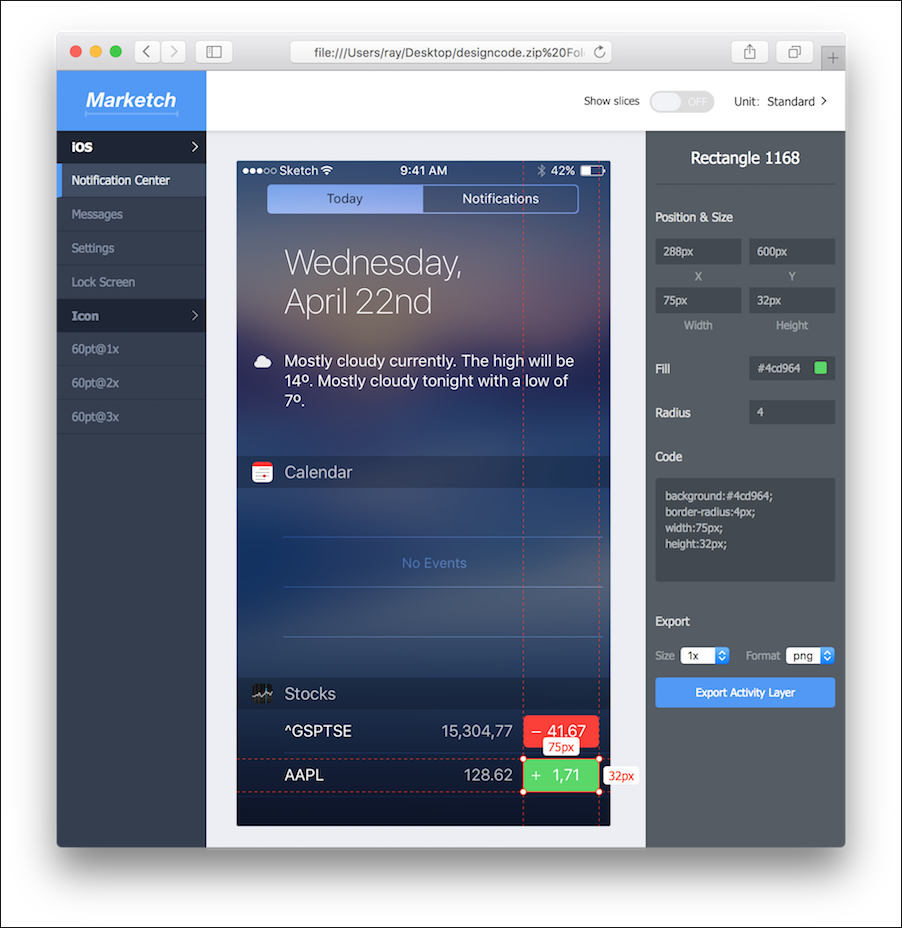
After finishing mockups, we often need to tell the front-end developers, the concrete size of pictures, the text size and spacing, Marketch will make you full of surprises.
Marketch is a Sketch 3 plug-in for automatically generating HTML page that can measure and get CSS styles on it, enabling super practical features such as dynamic annotation, unit conversion, and dynamic slicing.
It can help designers not only to reduce the burden, but also to check the layout parameters of all the elements, even the CSS code. In addition, this plugin can generate HTML locally and you don’t have to worry about security and privacy issues.
Download: https://github.com/tudou527/marketch
Tutorial:
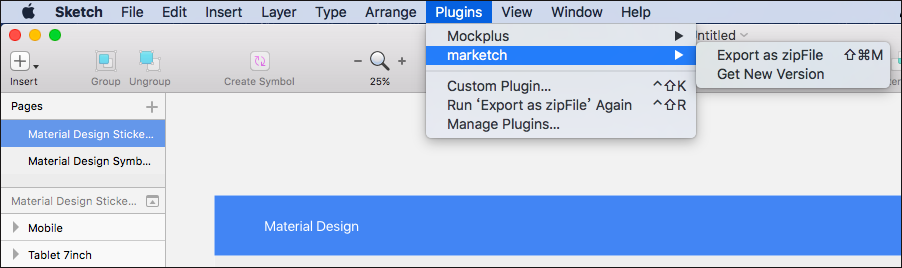
Step 1: Run marketch -> Export as Zip File
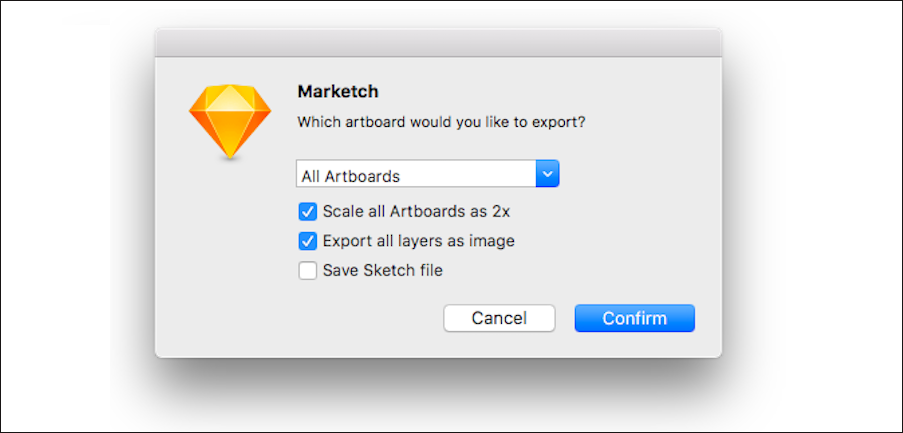
Step 2: Name and export it.
Step 3: Unzip the zip and run the Html file to check the effect in the browser
2. Mockplus
It is well known that Sketch is a vector design software. If we want to continue to make interaction design and team collaboration, it is recommended to install the Mockplus plugin in Sketch. Once you completed design in Sketch, you can export it as an MP file and make Sketch prototyping in Mockplus, which allows designers collaborating and adding annotate with team members.
Download: https://www.mockplus.com/download
Tutorial:
Step 1: Download free Sketch plugin. Decompress the zip file and double-click .sketchplugin file in it.
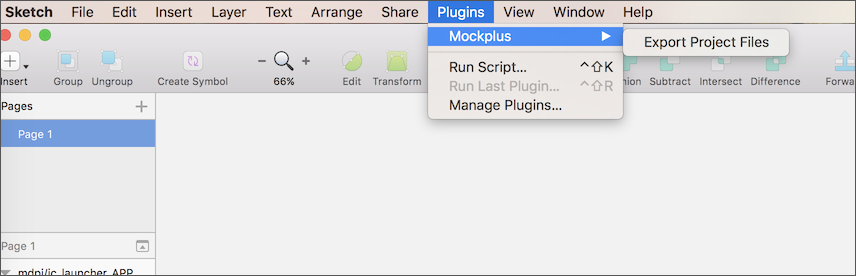
Step 2: When finished your design, select “Plugins” – “Mockplus” – “Export project files”.
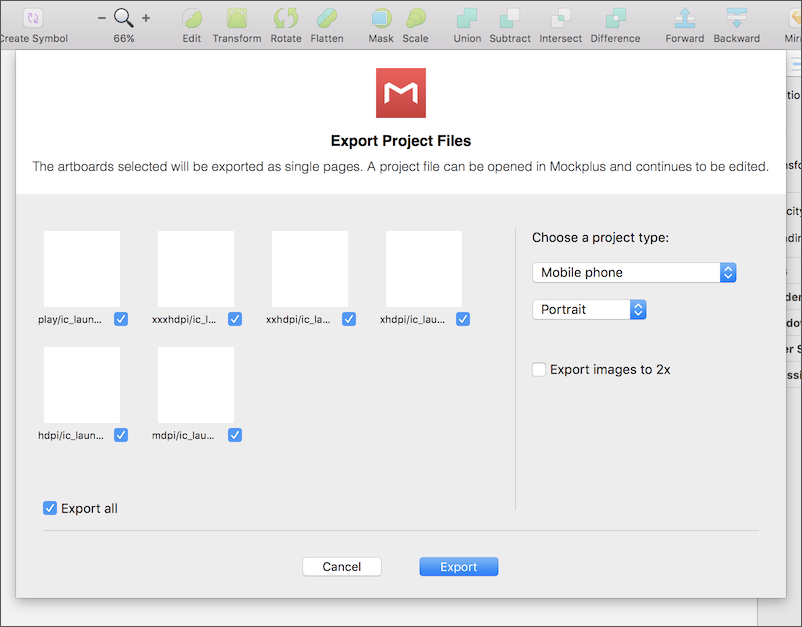
Step 3: Adjust the settings of your project on the following interface to select the Artboards you need. Besides, you can choose the type of project and the size of the exported image. After adjusting these settings, click “Export” to export content from Sketch.
3. Content Generator Sketch Plugin
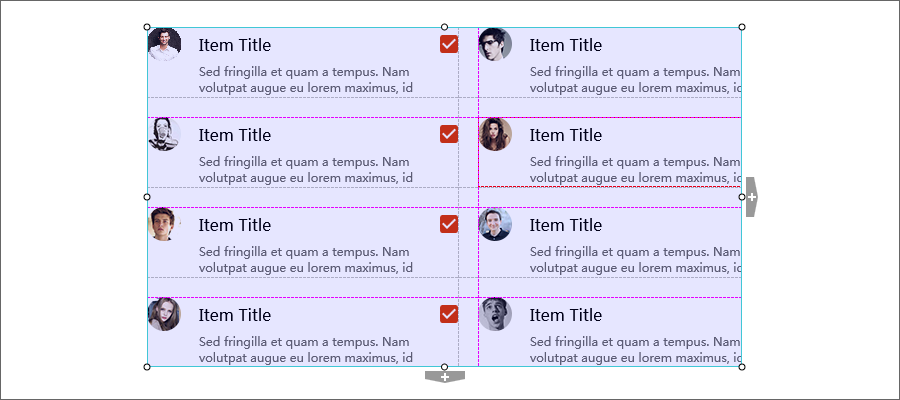
When we design some pages we may need to fill the data to improve the fidelity. The most common is to fill a variety of different avatars which are best to be different with each other. Don't worry, this plugin will be able to quickly achieve this effect. You just need to select all the needed elements, it will randomly select and fill the right Avatar.
Besides the image, the plugin can also randomly generate user name, mailbox and phone number. That could greatly improve efficiency to make the contact list.

It is worth mentioning that this kind of data fills can also be implemented by the repeater in Mockplus.
If there are some image components, it will automatically fill the image components in the grids with these pictures. So you don’t have to find other materials. These pictures have many types, such as placeholder image, avatar, character portraits, design, business, etc. If there are some texts, you can set "auto-fill type" of it, such as "date". Then, the text will become a random date in all grids.
4. Rename it
During the design, we often need to modify the graphics name in batches. The names are preferable to reflect the layer properties and parameters, you can quickly and easily find the desired layer. Rename it will be your great assistant.
Download: https://github.com/rodi01/RenameIt
Tutorial:
Step 1: Select the elements need to be named in batches
Step 2: Select Plugins> Rename it, naming the rules in the Pop-up window. The data % W% H are variables, and they will be automatically filled according to the image size. What we only need to do is only set the rules and click OK.
Video:
1) Extend the layer name: Enter "+" and the text you want to add. (e.g: + button)
2) Name the layer order: Enter "% N" to name the layer order with number suffix. "% N" is the number with the reverse order. (e.g item% N)
3) Retain and move the original layer name: Enter a new layer name, use the "*" instead the original layer name. (e.g big * button)
4) Add the length and width of the layer: Enter "% W" and "% H" to add the length and width of the layer. (e.g rectangle% w or rectangle% w x% h)
5. IconFlower
This plugin is very suitable for making the popular multi-icon background, you do not have to mechanically drag the icon one by one to the different parts of the canvas, but only need to put all the materials on a canvas, select all and click IconFlower, it can automatically arrange all your icon.
Download: https://github.com/avadhbsd/IconFlower
Tutorial:
Step 1: Install the IconFlower plugin in Sketch.
Step 2: Create an Artboard, and place loads of icons/objects/layers on the artboard. You can use Iconjar to drag the layers, the more the better.
Step 3: Select all icons/objects/layers you want to arrange.
Step 4: Run the plugin.
6. Magic Mirror
With Magic Mirror, you can easily turn the design of our artboard into a realistic, scene model, without having to use Photoshop anymore.
Tutorial:
Drag the mockup image to the sketch, make sure the image and your design are not in an artboard. You can drag it to another location in the work area.
Next, use the pen to draw an irregular rectangle where the mockup needs to show the interface (you have to make sure that there are only four points, and do not use the Rounded Rectangle tool, which will void the plugin.) Draw the red area as shown below.
The next step is very important, select the red graphics, the name of this layer named artboard and you are ready to name the same, such as static named mockup. Artboard name also needs to be mockup.
Select the red rectangle, and then execute the menu plugin> Magic Mirror> Magic Mirror!
7. Material Design Color Palette
This add-on quickly generates Material Design color versions in Sketch.
Download address: https://github.com/t32k/material-design-color-palette
8. BaseAlign
Alignment tools in Sketch are nice for shapes, but less friendly for text layers, and the text alignment that comes with the sketch is based on the outer text box, not the text itself. As a result, text boxes of different sizes are aligned up and down, a mess.
When aligned, the BaseAlign plugin aligns itself with the text's own baseline instead of a text box, ensuring that the text box is perfectly aligned to the actual text no matter what the size.
Download address: https://github.com/abynim/BaseAlign
9. Batch Create Symbols
The symbol greatly enhances the unity of the interface in UI design, but there is a particularly troublesome thing about the sketch, which is that you can only create one symbol at a time.
Batch Create Symbols plug-in, you can make all the selected layers, at the same time into a symbol. You can even batch name the symbol or use the layer name directly. A highly recommended plug-in.
Download address: https://github.com/demersdesigns/sketch-batch-create-symbols
10. SketchDistributor
Compared to Sketch's built-in alignment tool, SketchDistributor is more accurate and user-friendly.
SketchDistributor can help you select a set of layers, enter a value, choose a horizontal or vertical distribution, and, when confirmed, will get the exact pixel-level spacing.
Download address: https://github.com/PEZ/SketchDistributor
Conclusion:
The above are the 10 best Sketch plugins I recommend for everyone. Armed with these powerful Sketch plugins, I believe you can perform better on design. Of course, if you have a better recommendation, please leave a comment in the comments.
You may be interested in :


Comments
Post a Comment